
Your first tattoo kit does not need more pieces: every piece needs a purpose
How to organise a purchase by function, compare a kit’s contents and decide what belongs in your setup now or later.
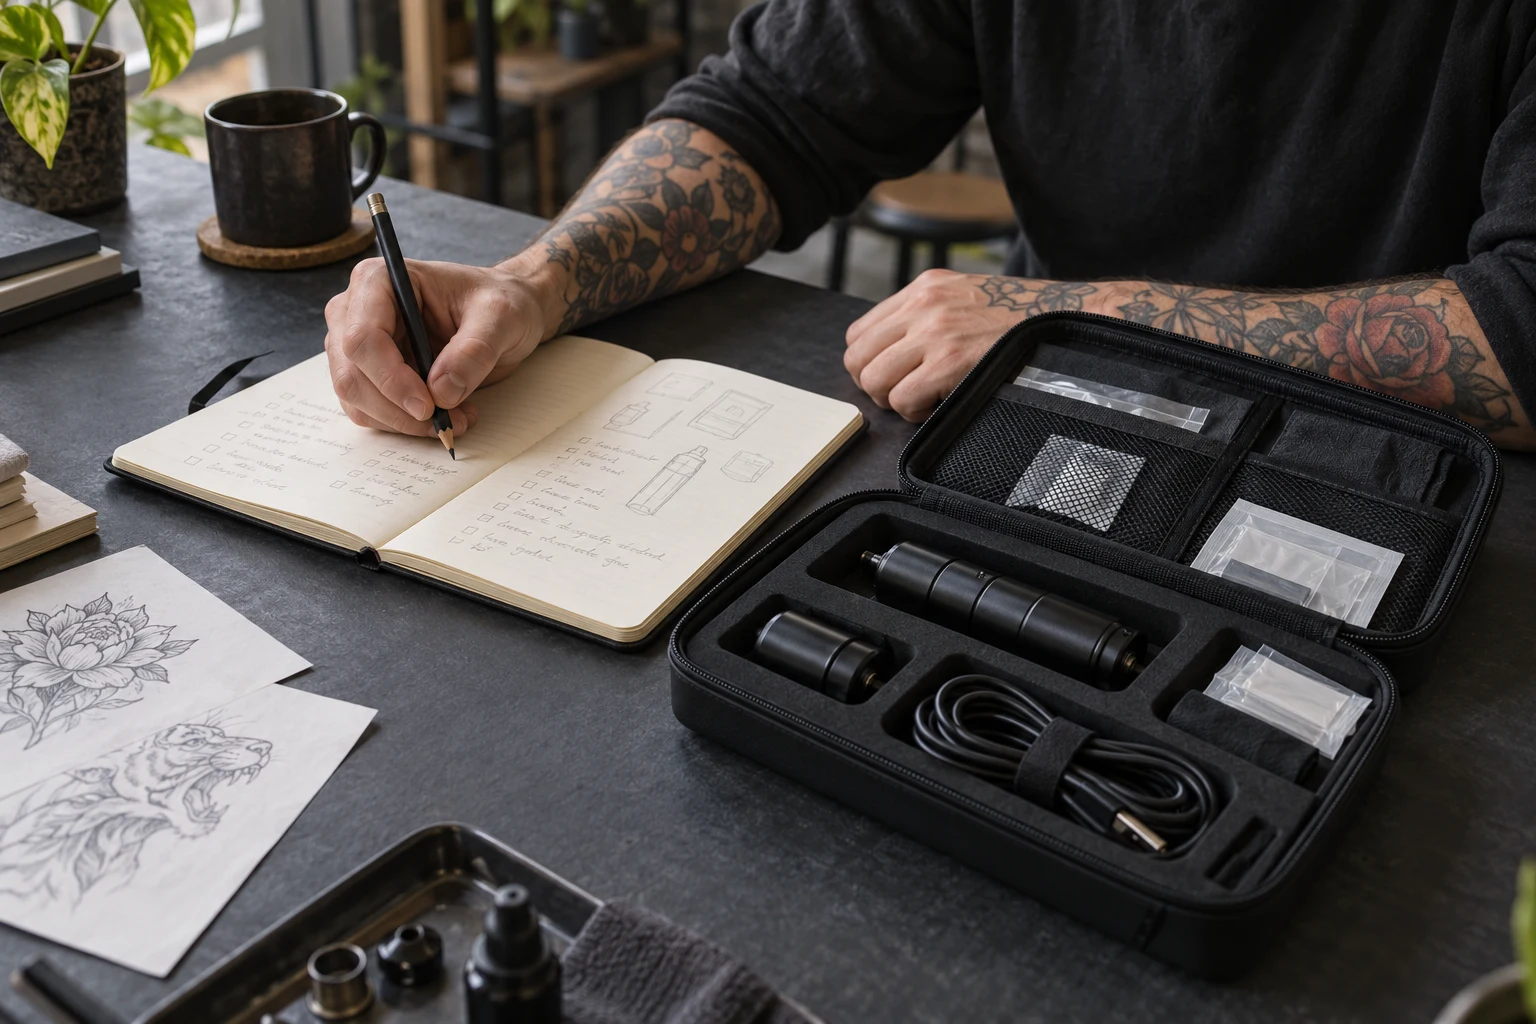
A kit photograph packed with accessories has an obvious appeal: it seems to settle many decisions at once. A machine, cartridges, cables and little bags suggest a complete workstation. Before counting the pieces, pause to ask what each one actually does for you.
Putting together your first set of equipment—or expanding an existing one—becomes easier when you separate needs from extras. Buying less is not the goal in itself. Being able to explain why each item belongs in the studio is.
Start with three lists, rather than a shopping basket
First, write down equipment you already own and can keep using. Second, list what is missing for your current practice and training. Third, note what needs replenishing: consumables, protection and other supplies that run out.
This prevents a new machine from taking all the attention while the rest of the workstation remains unresolved. It also makes a purchase that can wait easier to recognise. If you cannot yet explain which problem an accessory will solve, clarify your workflow first.
The same machine name does not guarantee the same box
Dragonhawk’s Fold Pro kit page distinguishes one- and two-battery options. Both list 20 cartridges, with different additional accessories depending on the option. This illustrates why the full inventory of the selected variant matters alongside the machine’s name.
A specific package to compare with your lists
The Fold Pro in our catalogue brings a machine and accessories together in a listing you can examine as a whole. Compare the selected offer with your three lists: what it covers, what you already have and what remains to add. Do not transfer another shop or edition’s inventory to this purchase without checking it.
A ready-made kit or individual components
Either route can make sense. The useful difference is how much you need to choose at once and what equipment you are keeping.
| What to check | Ready-made kit | Individual components |
|---|---|---|
| Starting point | Examine one offer’s full inventory. | Define each function still missing. |
| Existing equipment | Identify duplicates and whether you will use them. | Fill specific gaps. |
| Compatibility | Confirm variants and included accessories. | Check references for each combination. |
| Budget | Value the parts you will actually use. | Separate initial purchases from replenishment. |
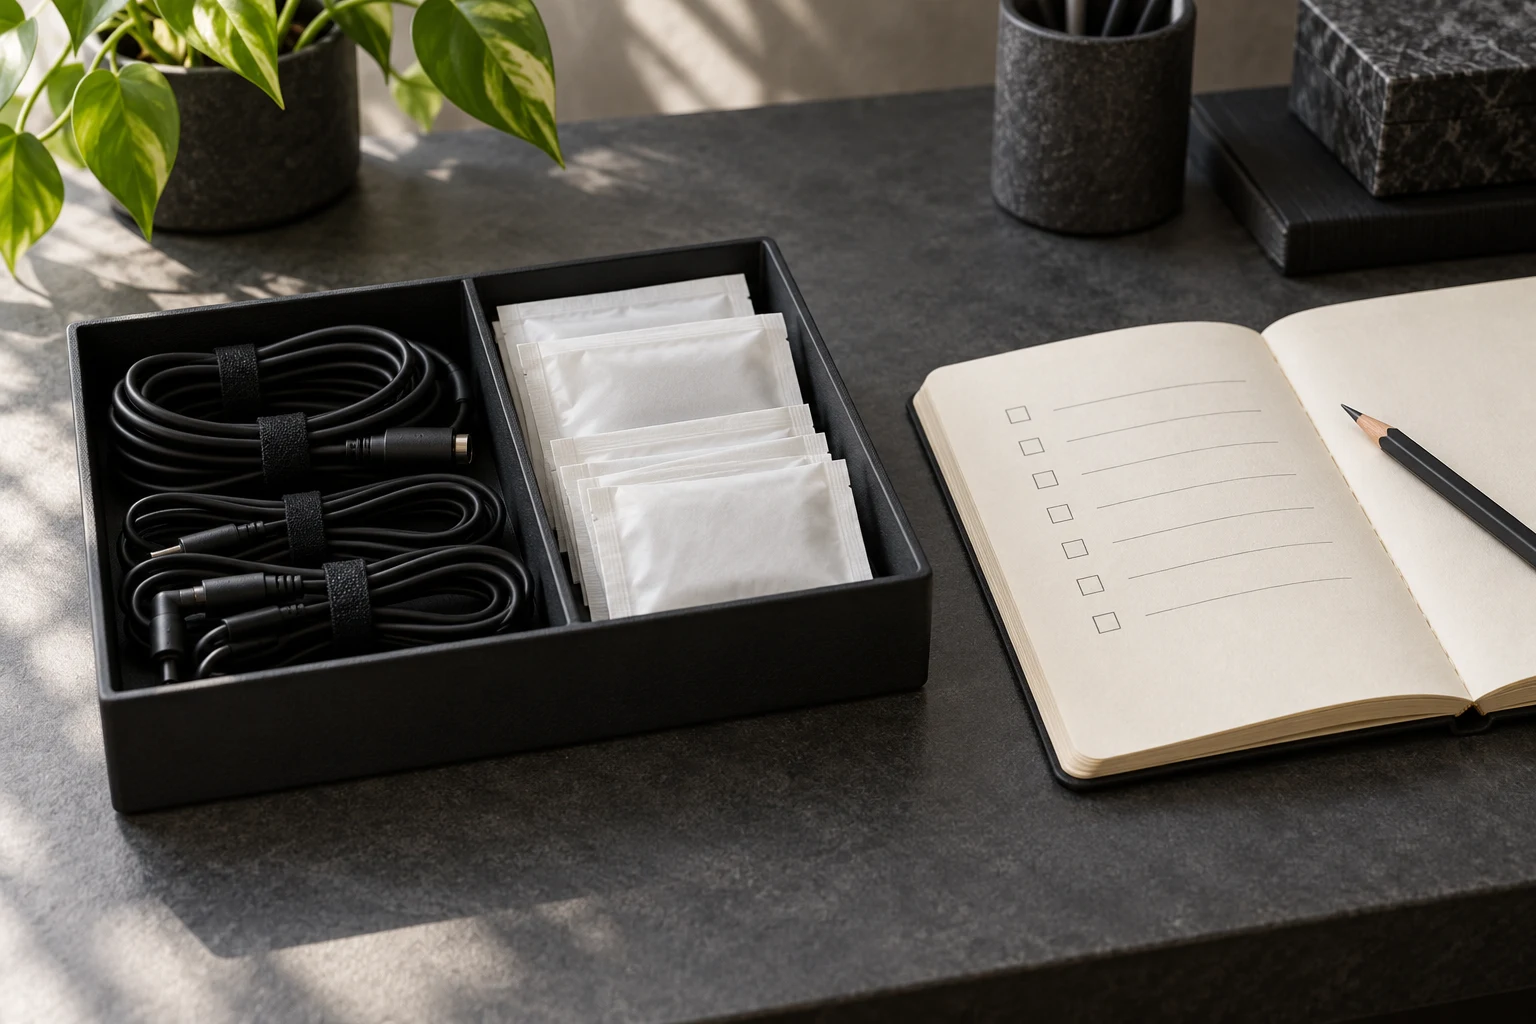
Accessories belong in the plan too
An organised workstation does not appear because a box says “complete”. Give storage, lighting and material preparation attention in line with your training and applicable instructions. This guide concerns purchasing; working on people requires training and compliance with the relevant requirements.
For every new item, note where it will live and what it needs to function. That small detail turns a wish list into a workstation you can prepare without constantly improvising.
Add a printer when it answers a need
Phomemo describes the M08F as a stencil printer and offers transfer paper for that model. The machine–consumable relationship matters when planning a setup; a generic “thermal paper” description is not enough.
M08F: put the function before the accessory
If your workflow needs printed stencils, the catalogue’s M08F is a starting point for examining format, connections and compatible paper. If that need does not yet exist, keep it on a later list. You do not have to fill every box in one purchase.
One last check before buying
Return to the original list and check that the proposed setup still answers it.
- Identify the exact variant and inventory without relying on a photograph.
- Separate useful additions from duplicates of existing equipment.
- Check compatible consumables and replacements.
- Allow for replenishment and training alongside the initial purchase.
Let your kit grow for a reason
A well-chosen setup has room to change. Each addition should answer a need you can name. That gives you a more useful foundation for learning and expanding a studio than the number of pieces printed on a box.
Sources and editorial notes
Manufacturer and organiser facts are linked above. Our selection and reading advice expresses TattooXpert’s editorial judgement.
Our editorial methodFROM THE PAGE
TO YOUR STUDIO.

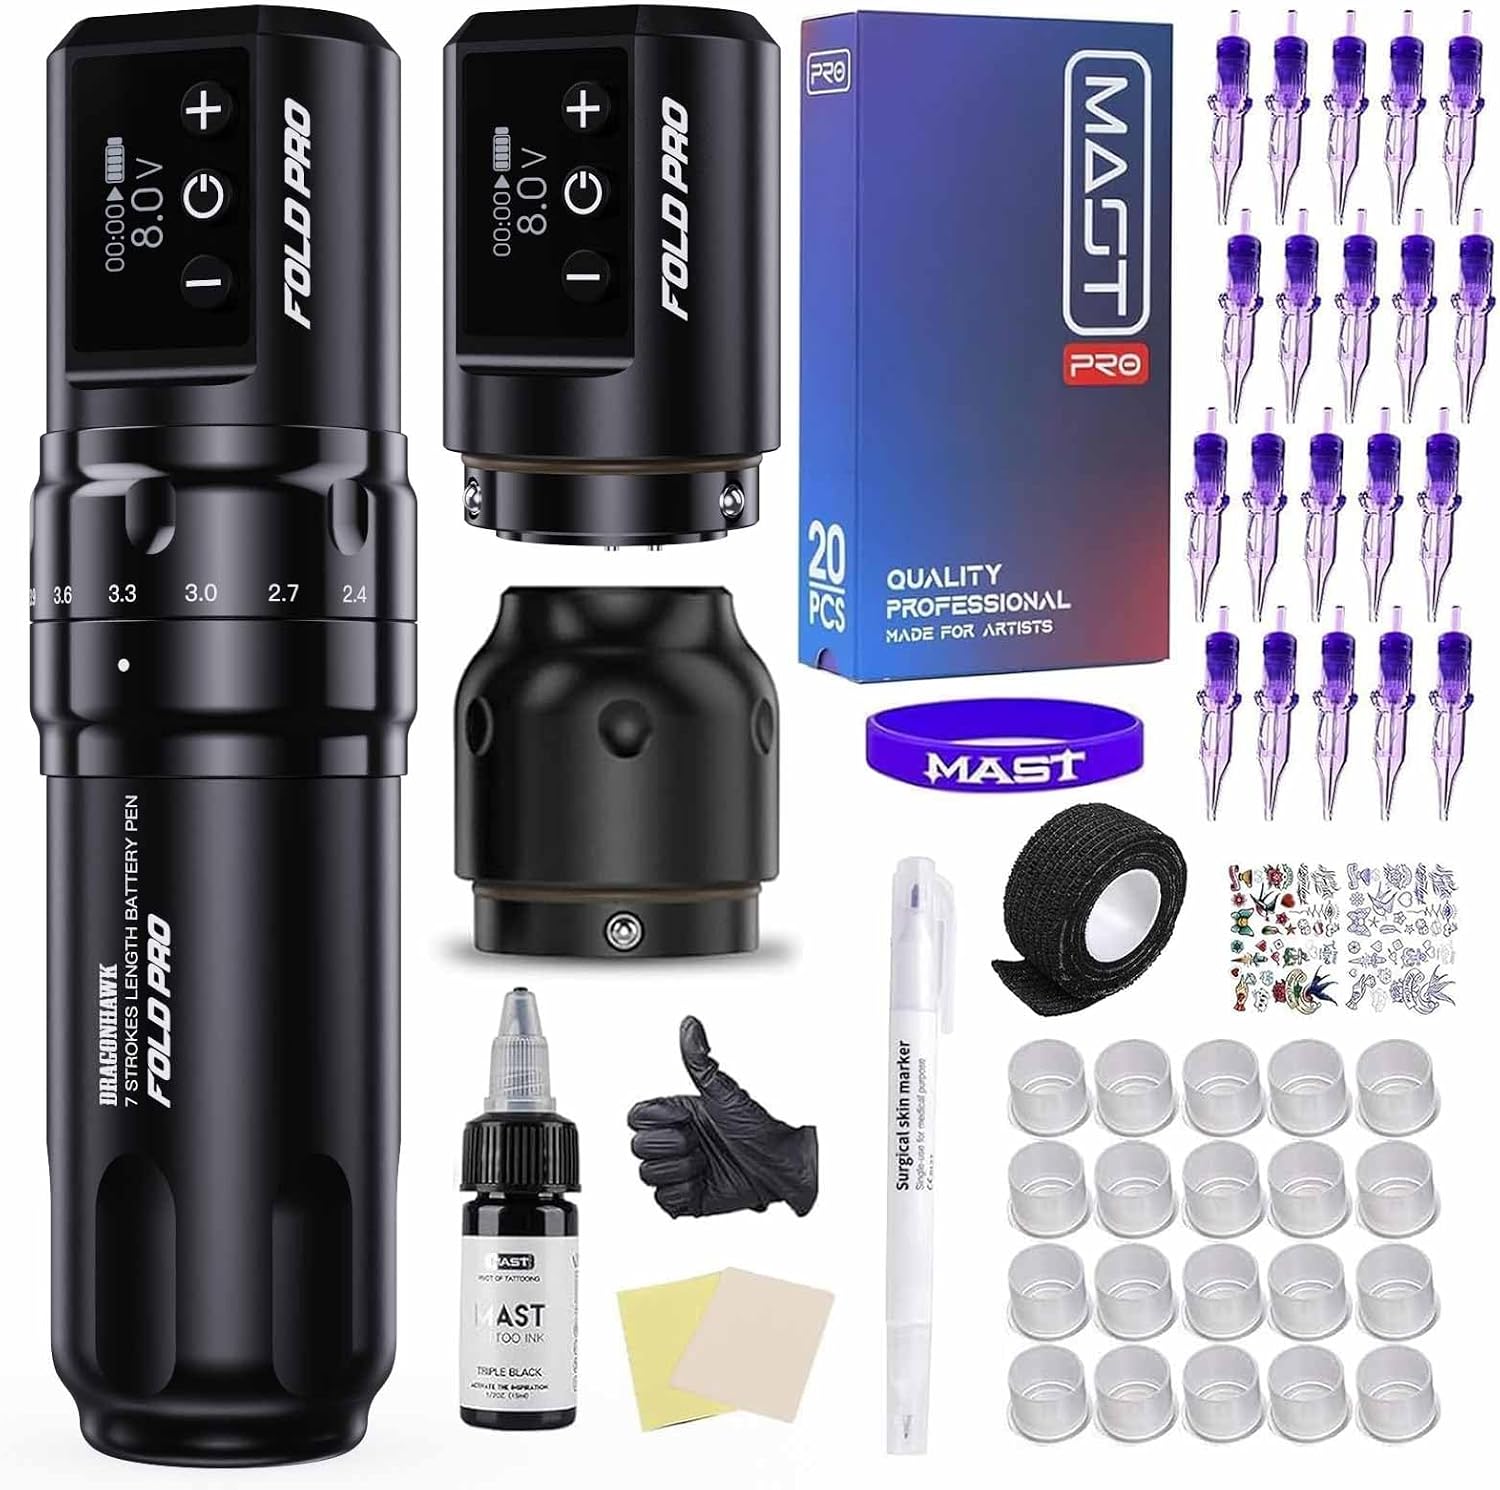
Fold Pro with two batteries and 20 cartridges to bring machine and supplies into one purchase.

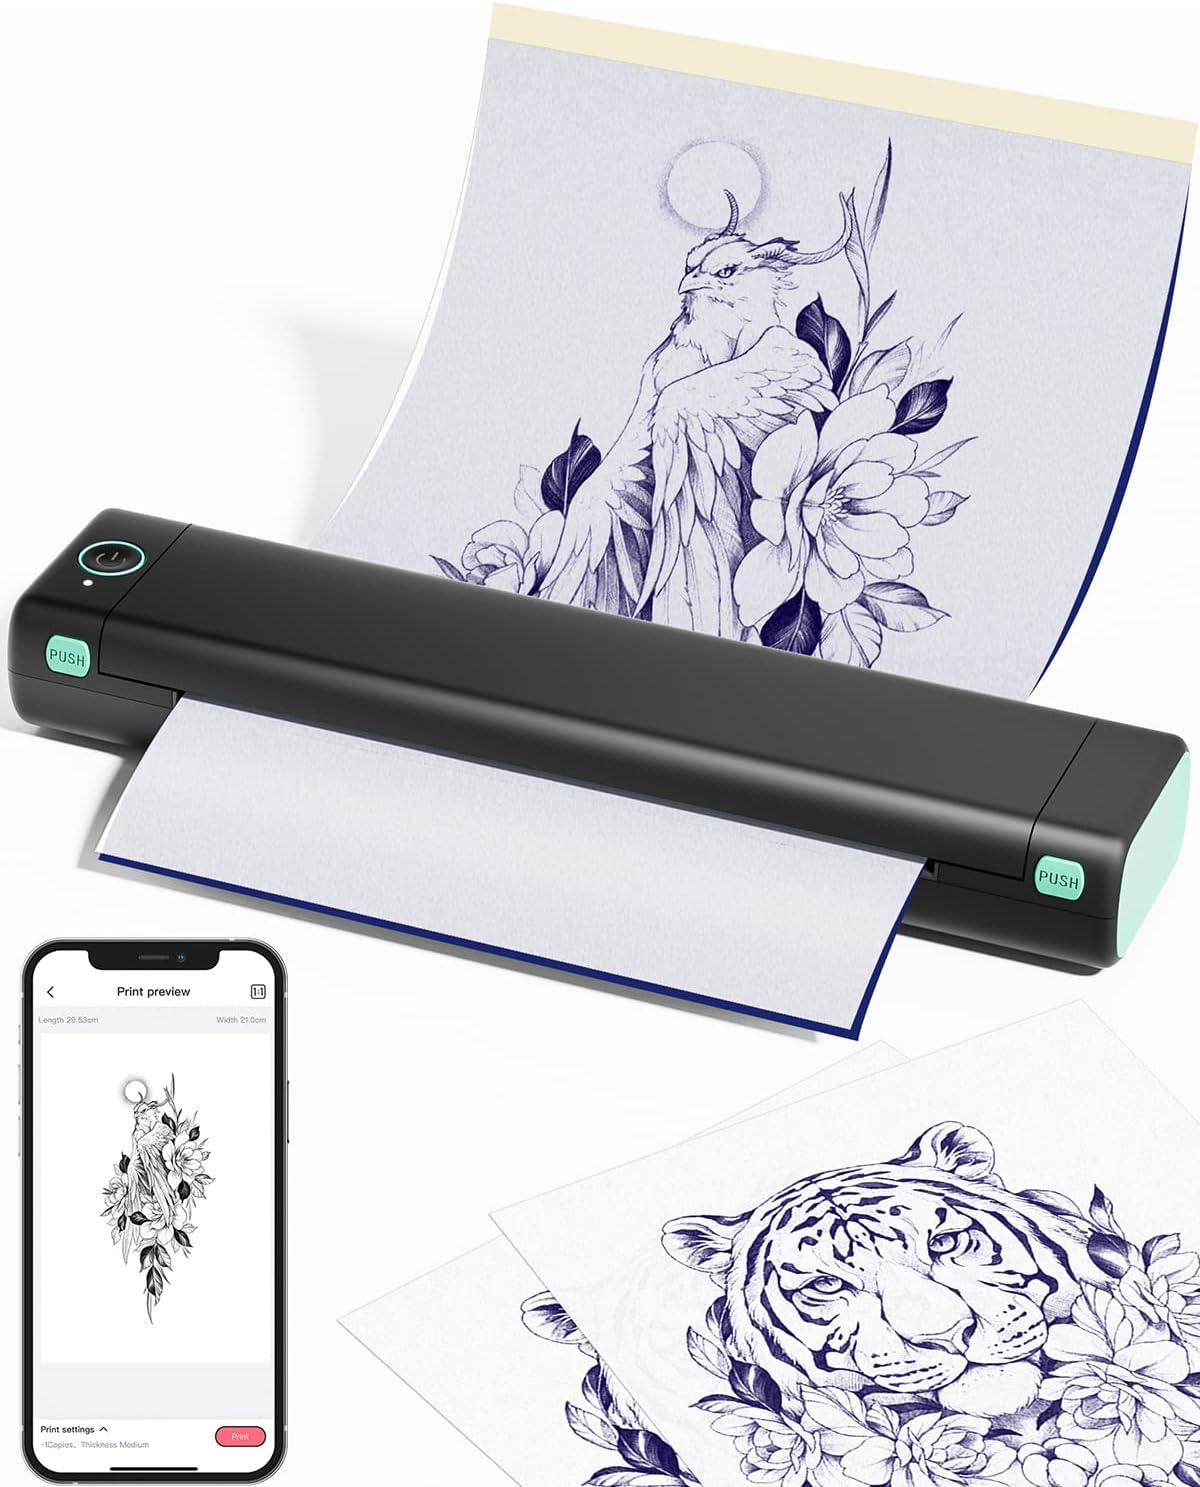
A Bluetooth thermal printer for transferring designs to stencil paper.
KEEP EXPLORING.

Wired or wireless tattoo machine? The real difference is how you prepare your workstation
The choice goes beyond removing a cable. Charging, spares, connections and studio organisation help you decide which system fits.
TattoXpert
How to choose a tattoo machine: the useful details behind an impressive specification sheet
Stroke, battery, grip and accessories: what to understand before choosing a machine, and why an isolated number tells you so little.
TattoXpert