
Tattoo drawing exercises: practise lines with a clear purpose
Work on straight lines, curves and line weight on paper, then use them in a small original drawing. Learn what to look for and what to practise next.
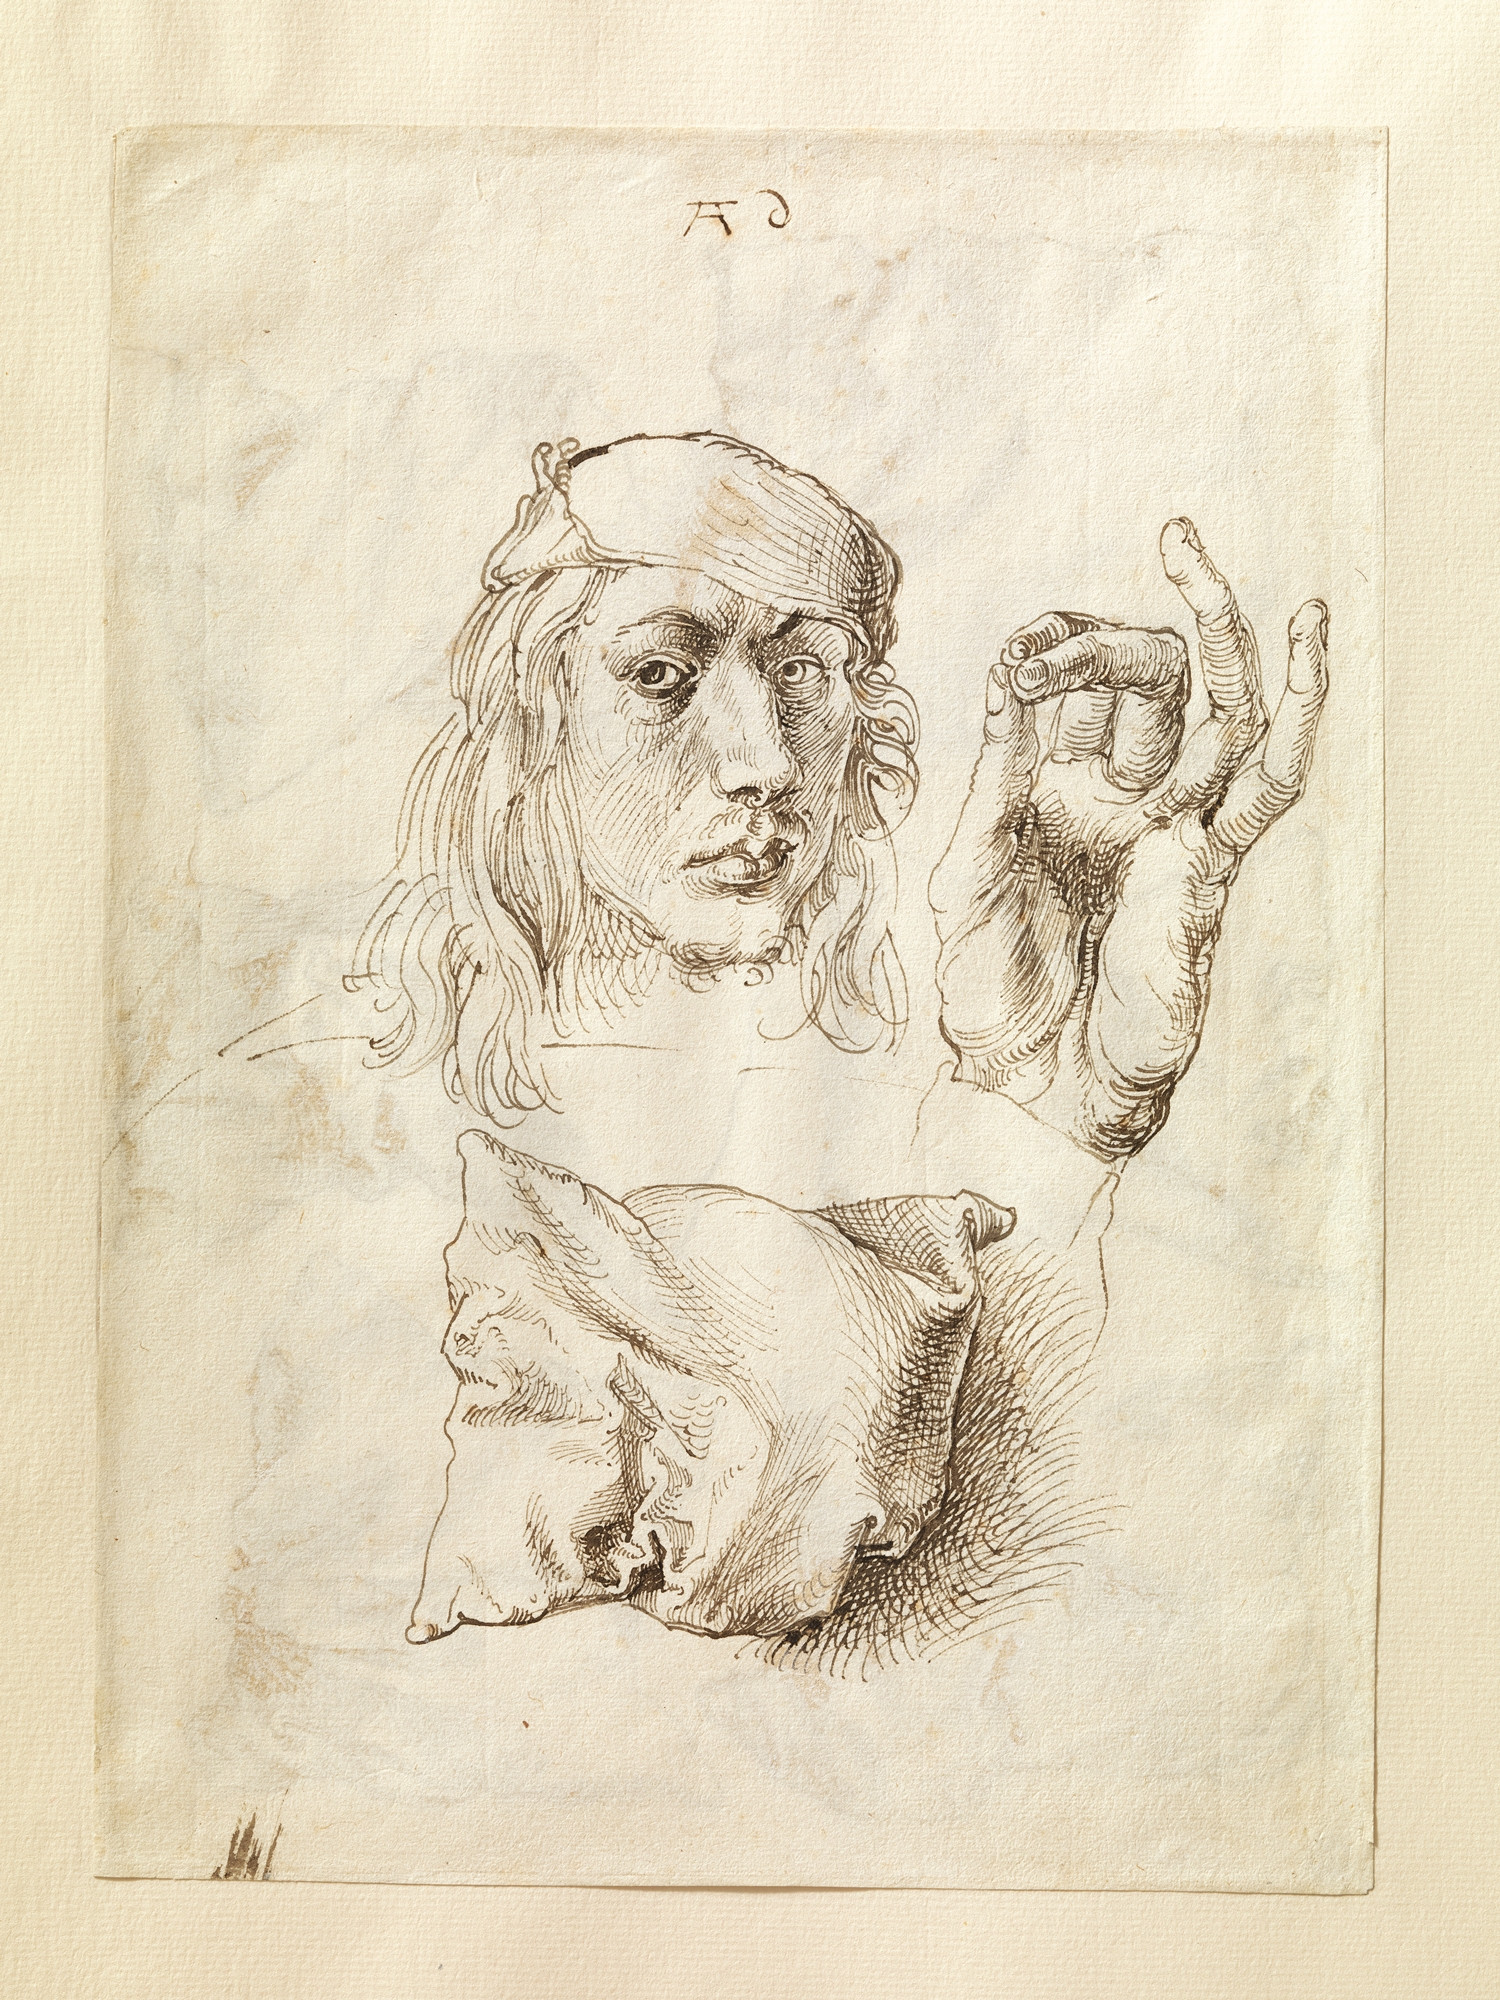
A page of lines needs a question
You are halfway through a page of lines, and the latest one looks worse than the first. Should you draw another fifty, change pens or start a rose? When practising drawing before tattooing, try a more specific starting point: choose what you want the mark to do, then apply it to a small drawing. Your page can become a useful record rather than an endurance test.
This guide explores three decisions on paper: where a line travels, how it turns and how much importance it carries within the drawing. You need a pencil, a pen or drawing marker, and a few sheets. These exercises do not establish readiness to tattoo people or replace supervised training. They are a way to explore drawing.
Set aside a stretch of time you can give your attention to without rushing. Today's aim can be modest: draw a leaf with a clear distinction between its edge and veins, and explain one improvement over your first attempt.
Give your exercises a drawing to return to
The Getty suggests examining line length, direction, width and spacing. Among artists interviewed by Killer Ink, Tiggy favours practising recognisable subjects over repeating basic shapes. These are different perspectives, not a single preference shared by everyone in those interviews.
Set up a page you can compare
Choose paper that stays flat under your hand and a tool you already know. Before starting, make a small mark in the margin. Check whether the ink spreads or the nib catches. Unsuitable paper can distract you from the feature you meant to study. You do not need to buy a machine or add weights to a pencil for this session.
Write down the date, the tool and a question: 'Can I keep the space between these two curves open?' Divide the sheet into a testing area and a space for the finished motif. Leave room for notes. A sketchbook crammed to every edge can encourage another mark when it is time to look instead.
Work at a comfortable size and turn the sheet when useful. If you switch pens halfway through, record it. Comparing a fine pen with a broad marker without noting the change can make you credit, or blame, your hand for a difference in materials.
Straight lines: choose the route before making the mark
Place two dots and consider the line between them. You can rehearse the movement above the paper before drawing. Then make one visible line and look separately at its direction and its endpoint. A straight mark may head the right way but stop short; another may reach the dot after drifting off course. Those observations suggest different questions for the next attempt.
Make three pairs of dots with different distances between them. Pick a length you can work on attentively, without filling the page with ever-longer strokes. A ruler can help you place the dots or check the result afterwards. Put it aside for the freehand drawing itself.
Try a specific application: draw the handle of a small imaginary key. Its sides ask you to relate two lines rather than judge an isolated stroke. Look at the gap between them. If it narrows unexpectedly, note where that starts. Keep the key the same size in your next version so the comparison stays useful.
Curves: follow the turn and keep the space
Draw a simple ribbon forming a broad S. Add its second edge while keeping the interior space open. Ask where the ribbon gets wider or tighter, rather than whether it resembles a perfect letter. Mark one abrupt change, then draw just that section beside it at a slightly larger size.
Also try a leaf made from two curves meeting at the tip. Decide first whether the tip should be pointed or rounded. That choice gives you something to check at the join. A gap may interrupt the shape you intended, while a crossing may turn the tip into a little thorn.
Avoid darkening every join to conceal it. Keep the first attempt visible and make a second version. When a drawing is covered in corrective passes, the original mark becomes hard to recall. Corrections are allowed: save them for a finishing pass and retain one attempt that you can still read clearly.
Three questions to ask of a line
Use these observations to choose your next attempt. They are neither a score for talent nor an explanation of how a needle would behave in skin.
| What to check | What to look for on paper | What to try next |
|---|---|---|
| Route | The stroke departs from the direction you chose. | Repeat at a comfortable size, retaining the start and end points. |
| Join | Two curves leave a gap or cross where you wanted them to meet. | Enlarge that junction and decide where each curve should end. |
| Hierarchy | An interior detail carries as much weight as the silhouette. | Redraw the motif after giving each group of lines a role. |
One tool can describe different things
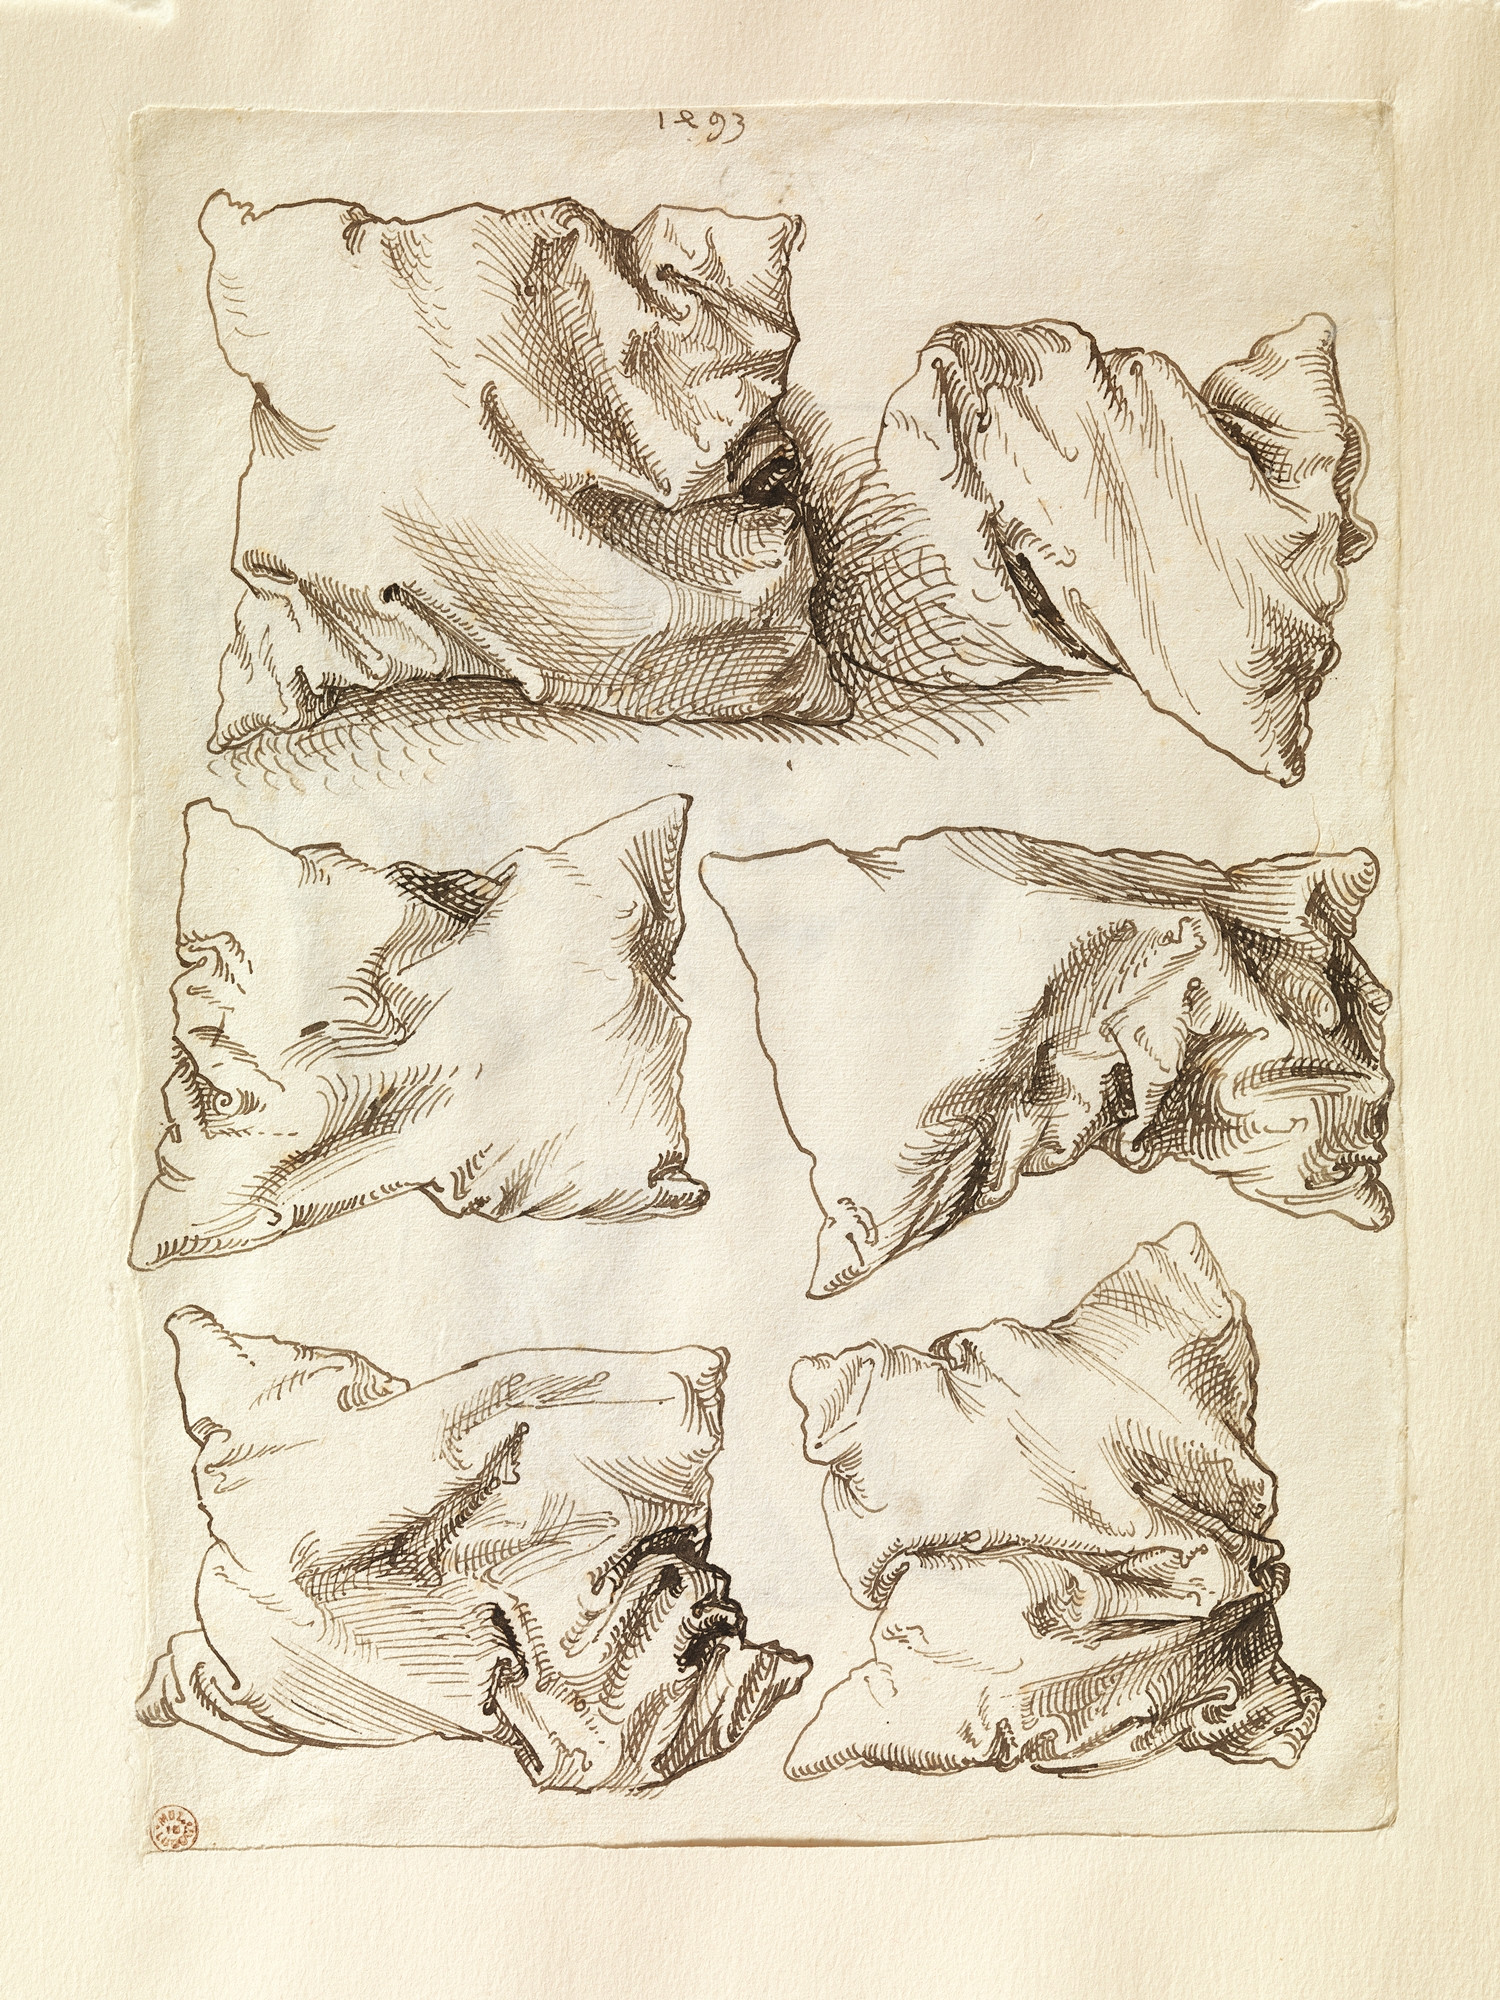
Line weight: give every mark a job
Return to your leaf and draw it twice at the same size. In the first version, use roughly the same width throughout. In the second, emphasise the edge and keep the veins lighter, using two different nibs if available. Place the drawings together and view them from your normal reading distance.
Which reads more readily? Does anything disappear? A heavy outline is not automatically the winner. You may want a delicate image that needs fewer details instead of a stronger border. This comparison is a way to make a choice, not a recipe for every style.
With a ballpoint, do not force extra pressure to obtain any width you want. If your tool cannot give you the variation you need, change nibs or build the broad line as an outlined shape. Note what you did. You are designing relationships between marks, rather than proving one tool can do everything.
A short session with a definite ending
You could organise a session of about twenty minutes as follows. Adjust the timing to your attention: this is not a training prescription or a promise of results.
- Choose a question and test your materials in the margin.
- Spend a few minutes on the key's two sides and a curved ribbon.
- Redraw a join you want to understand, keeping the first attempt visible.
- Apply your observations to two versions of a leaf.
- Finish with one specific sentence: what you changed and what you will investigate next time.
From the exercise to a drawing you want to make
If flowers interest you, use the curve you practised to work out a petal. If you prefer objects, return to a key, a candle or a small bottle. Connecting the exercise with a subject you enjoy helps you decide which practice deserves more time. An afternoon of strokes without an application can leave you with plenty of paper and little idea of what to do next.
Keep the complete attempt even when you show only a detail to ask for help. 'The gap narrows as I turn towards the tip' opens a more useful conversation than 'My hand is bad.' To continue exploring proportion and shape, move on to observational drawing. When you need another perspective, prepare a question for someone who can review your work.
Later, select a resolved drawing for your portfolio that shows your decisions. Practice sheets can document the process where relevant, but every exercise need not become an exhibition piece. For today, closing the sketchbook knowing what to examine tomorrow is a worthwhile finish.
Continue with observational drawing
Sources and editorial notes
- The J. Paul Getty Museum — Introducing line
- Killer Ink — Artist interviews on drawing practice, 28 April 2025
- The Met — Albrecht Dürer, studies on paper, 1493; object 1975.1.862
- The Met — Open Access image policy
Manufacturer and organiser facts are linked above. Our selection and reading advice expresses TattooXpert’s editorial judgement.
Our editorial methodKEEP EXPLORING.
Before drawing another flash piece, take a closer look at a mug
An observational drawing exercise to study proportion, look more carefully and bring a sharper question back to your tattoo designs.
TattooXpert
How to improve your tattoo drawings with useful feedback
Ask for useful feedback on tattoo drawings: focus the question, separate observation from taste and turn a comment into a test.
TattooXpert