
Your first tattoo apprenticeship portfolio: what to show while you are still learning
Choose your drawings, show their development and prepare a clear introduction to a studio. A beginner's guide without inflated experience or pages added just to fill space.
You have drawings. Now decide what they say about you
You open the folder: a rose you still like, three unfinished portraits and the drawing that took an entire Sunday. What would you show if a studio gave you a few minutes? Building a portfolio to start a tattoo apprenticeship means choosing what demonstrates your current ability, what you are learning and what you can explain beyond a flattering photograph.
Our suggestion is to make a selection someone can browse thoughtfully. You do not need to imply a career you have not had. Each page should help the reader understand how you observe, draw and reconsider an idea.
A mentor's priorities cannot be reduced to a number
In his guide, tattoo artist Rick Shaw describes looking for creativity, drawing fundamentals and progress alongside finish. His preferred quantity of work differs from the advice published by Certified Tattoo Studios. These are particular professionals' criteria, not a shared requirement across every studio. Check the intended studio's submission instructions before preparing your portfolio.
Make a first edit before buying anything
Spread out your work or collect photographs in a temporary folder. Write one sentence for each piece: “this demonstrates…”. If your only answer is “it took ages”, you still need a reason to include it. Effort matters to your learning; the selection should reveal what that learning produced.
Try three groups: work you can explain confidently, work that needs another version and work you want to keep as a memory. The third group still matters, but it need not come to an interview. Open and close with pieces that represent your current ability well.
Give each page an understandable purpose
This is a suggested way to organise work, not a mandatory template. Choose the page types that best explain your practice.
| What to check | What you show | What to explain |
|---|---|---|
| A finished piece | The whole drawing, without cropping that hides its edges. | Your intention and the composition decision you found hardest to resolve. |
| A development | An early sketch, a specific revision and the result. | What changed and why it makes the design easier to read. |
| An observational study | An object, plant or hand you have drawn. | Your source and the skill you were practising: proportion, light or volume. |
Show development without handing over every sketchbook
Choose a drawing and find the point when it improved. Perhaps you removed a leaf that hid the main subject, or shifted an element to give the composition room. Put the two versions together and explain that change in two lines. “I adjusted it” becomes a decision someone can actually inspect.
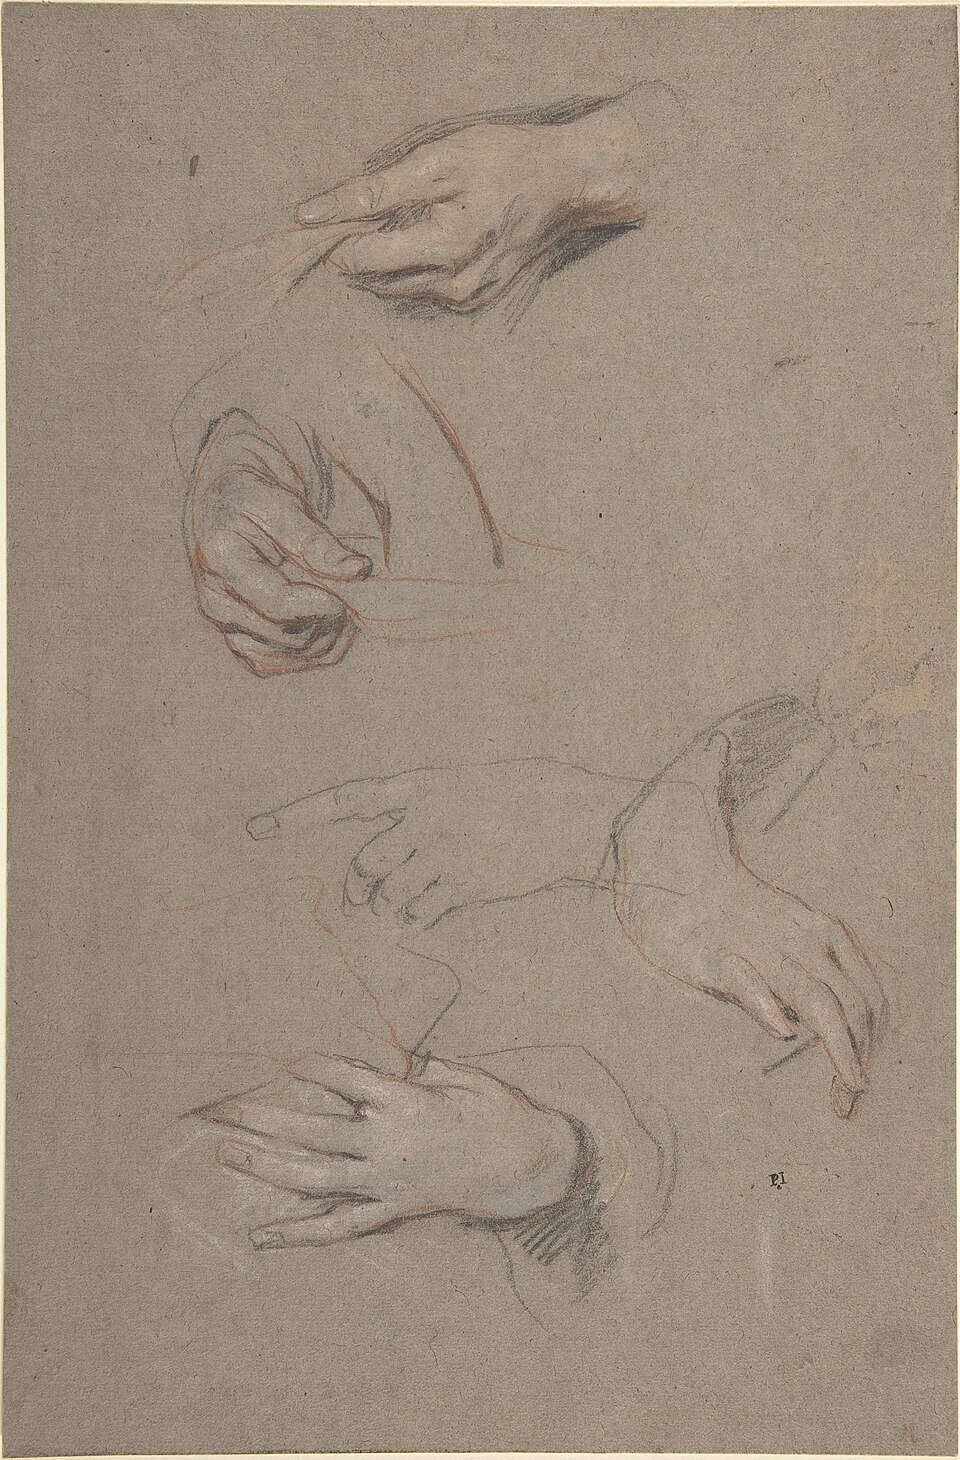
Lely's sheet of hands at the top of this article offers a way to look at different positions of the same subject. It is neither a standard you must match nor an example of an apprenticeship application. Treat it as a reminder that studying a shape can produce several questions, rather than just one finished image.
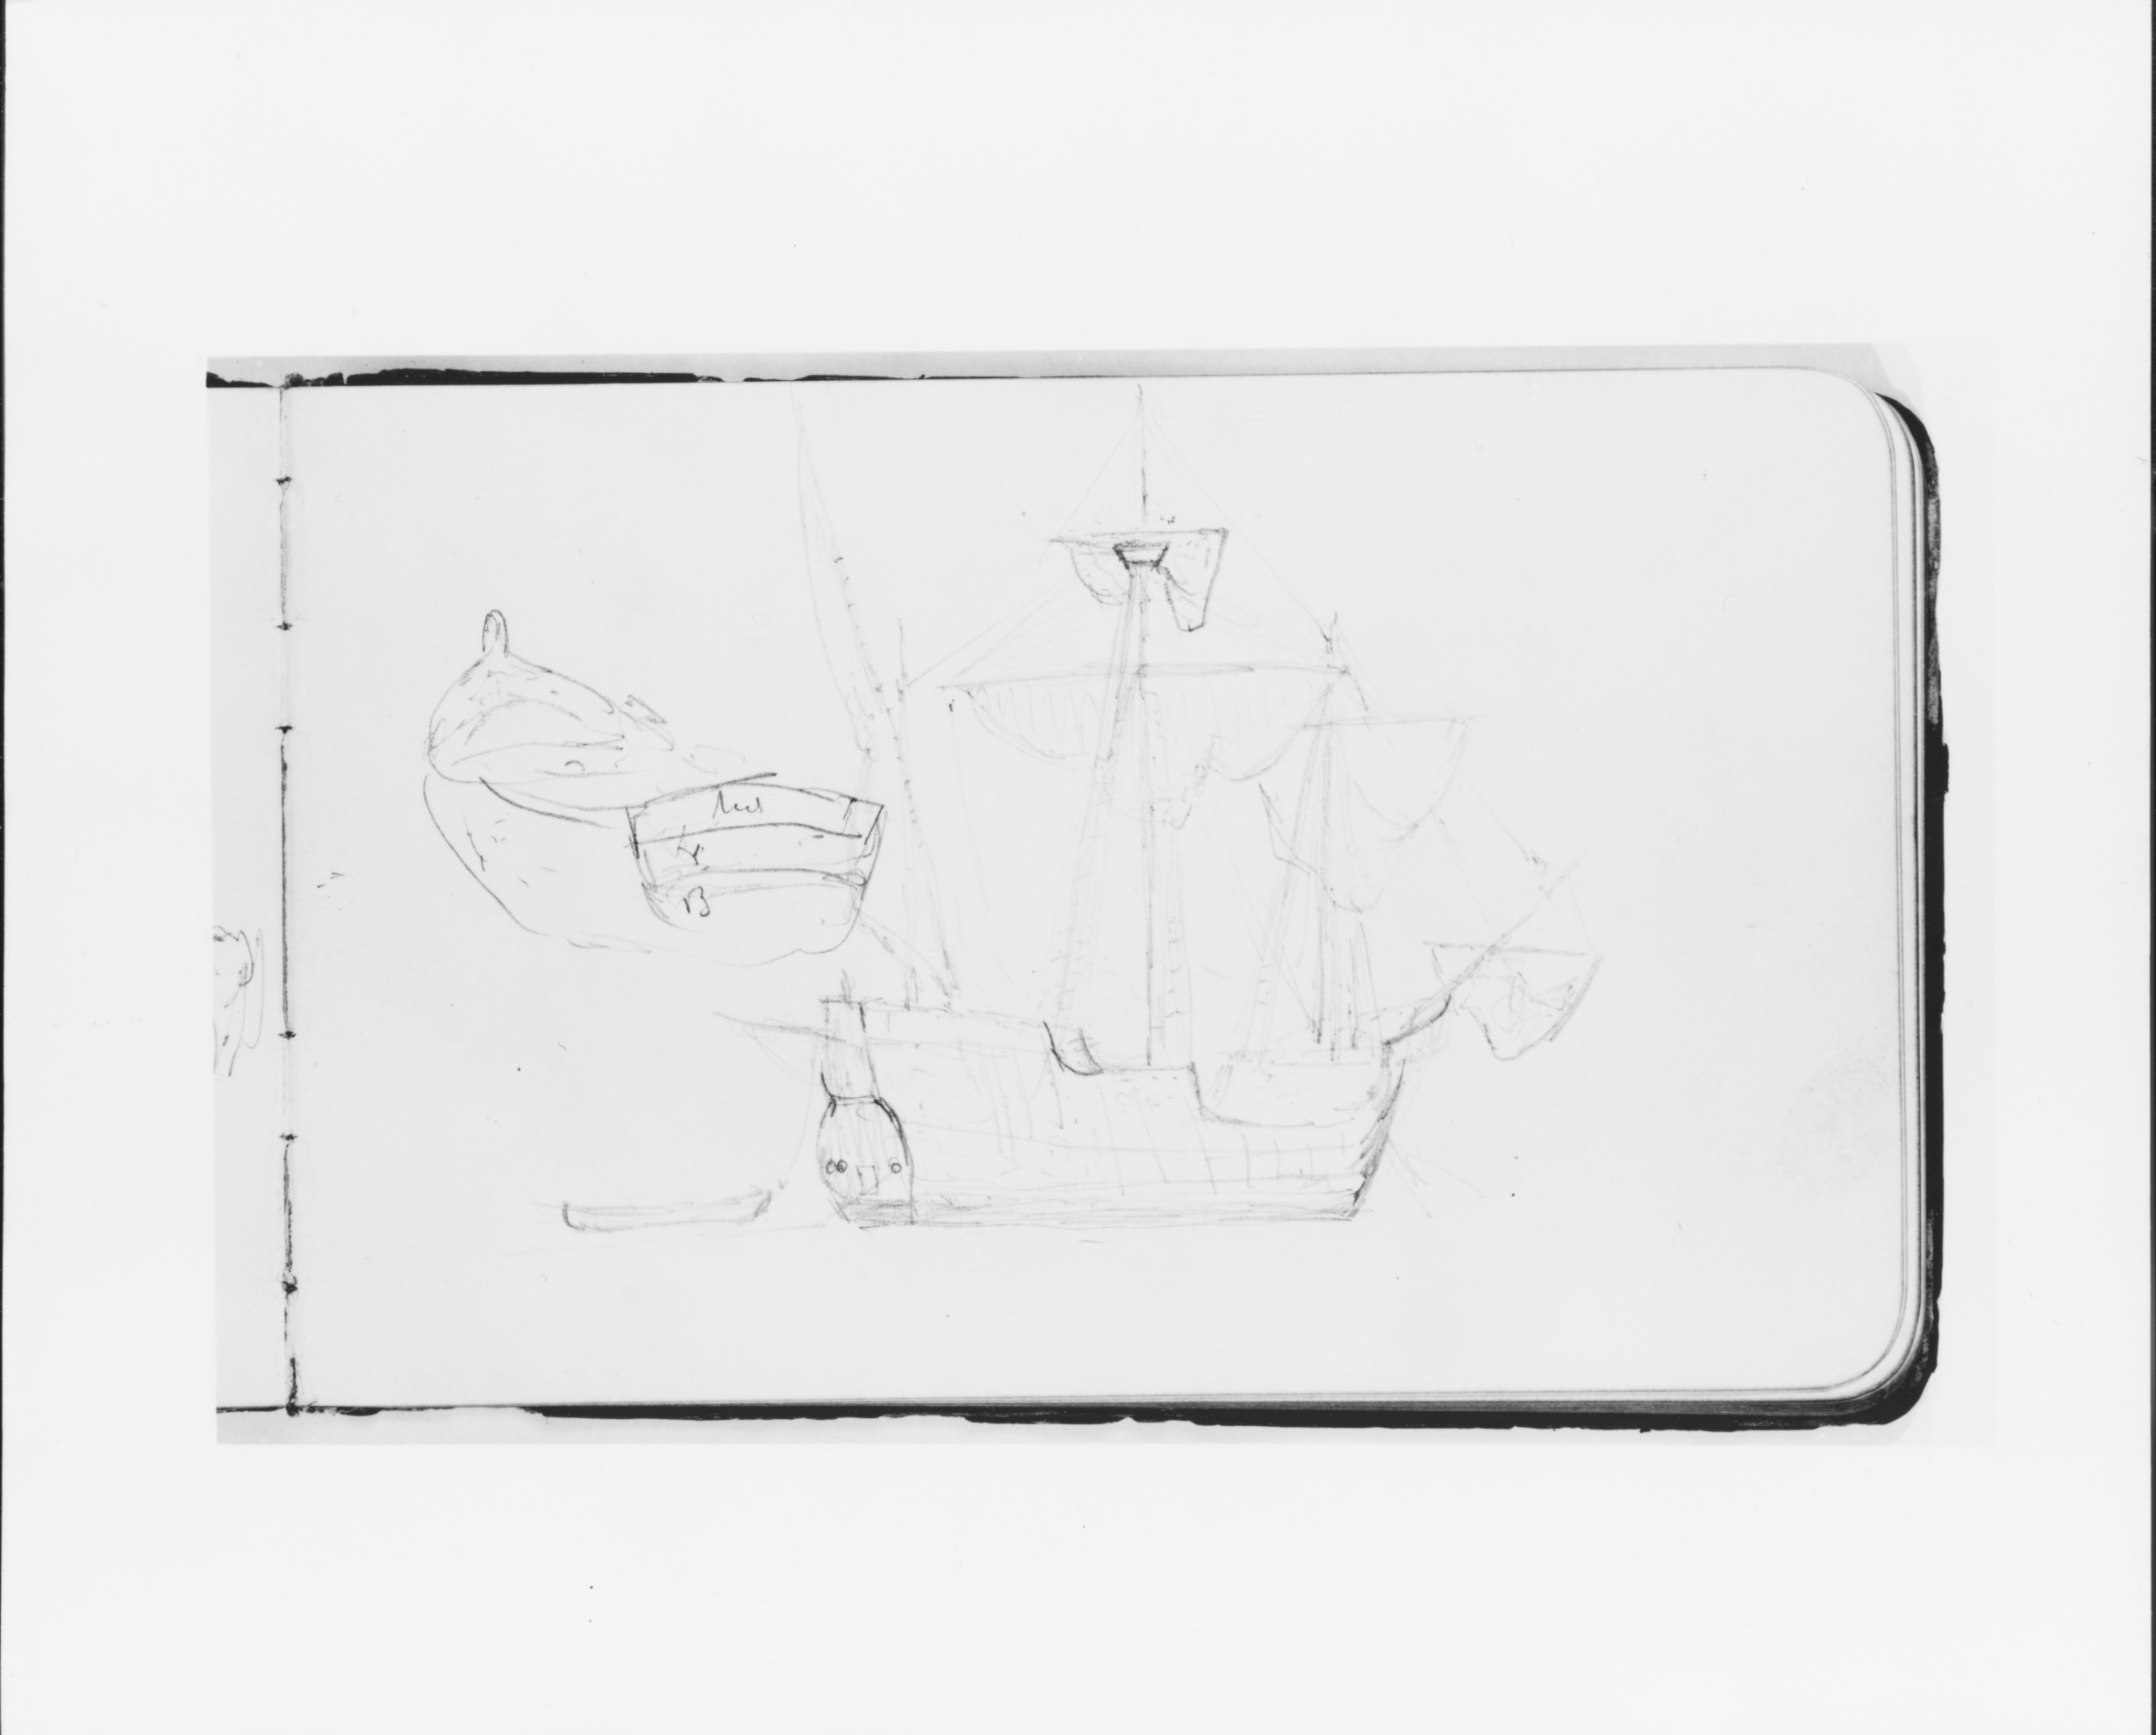
A sketchbook can reveal how you observe
Make your contribution clear
Add a short label beside each work: title, date, medium and the origin of the idea. “Drawn from life”, “study from my own photograph” and “study after a work by…” describe different processes. Identify other people's references and distinguish reproduction exercises from your original compositions.
You can also explain what the tools did: digital drawing, manual inking or placement on a silhouette. When the purpose is to demonstrate your skill, avoid presenting generated images as your own drawings. Clear labels let the conversation focus on the work without anyone having to guess how it was made.
From a drawing to a proposal for the body
Shaw encourages applicants to start considering the body area they are designing for. He also prefers to see physical work alongside digital work. These are his preferences as a mentor, not a general ban on tablets.
An exercise you can prepare this week
Take an original composition and draw a simple silhouette beside it to suggest a placement. Note the proposed size and one question you want to discuss: “is the subject clear at this scale?” or “does this curve suit the area?”. Present it as a design study, without claiming it is ready to tattoo.
At this stage, you can focus on paper and digital drawing. You do not need to tattoo a person to manufacture a portfolio photograph. The purpose of the proposal is to start a discussion about design and learning.
Open it on a phone before sending it
A considered presentation does not require a complicated website. A PDF or simple gallery can work if the studio accepts that format. Avoid layouts that require zooming into every drawing; keep a complete view and add a detail when useful. Make your name and contact information easy to find.
Ask someone to open it without your commentary and notice where they get lost. Then check these points:
- Every image is sharp and preserves the work's colour and proportions.
- Finished work, studies and placement proposals are clearly distinguished.
- Sources and techniques are identified in short labels.
- The file or link opens and the contact details work.
- You can explain why every page is included.
Your best next page might be a revision
When contacting a studio, explain why its work interests you and ask how it prefers to receive applications. If someone agrees to review your portfolio, bring a specific question about a drawing. One useful observation can take you further than a general “looks good”.
Save this first version with a date. As you revise the portfolio, replace work that no longer represents you and keep the history for yourself. An honest selection, together with an understanding of what you want to improve next, gives the conversation a solid starting point.
Sources and editorial notes
- Rick Shaw · How to Build a Tattoo Apprenticeship Portfolio
- Certified Tattoo Studios · Portfolio for Tattoo Apprenticeships
- The Met · Sir Peter Lely, Studies of Hands
- The Met · Albert Bierstadt, Study of a Ship and Rowboat
- The Met · Open Access
Manufacturer and organiser facts are linked above. Our selection and reading advice expresses TattooXpert’s editorial judgement.
Our editorial methodKEEP EXPLORING.
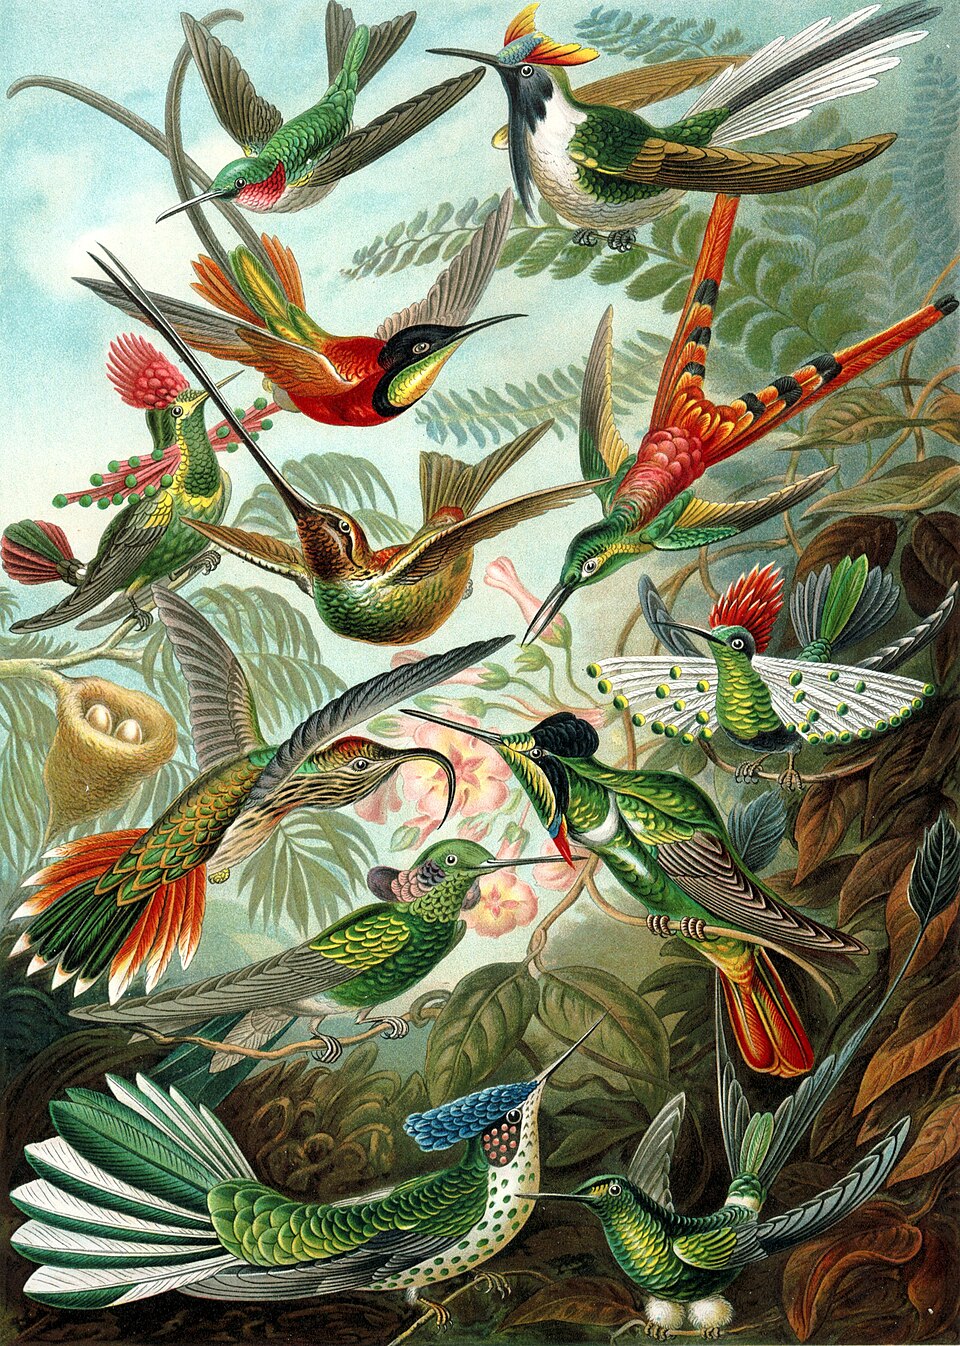
Saving a thousand tattoos will not teach you to draw: build a useful reference library
A useful archive is more than an endless folder of screenshots. It is a collection of questions, sources and observations you can turn into your own drawing decisions.
TattoXpert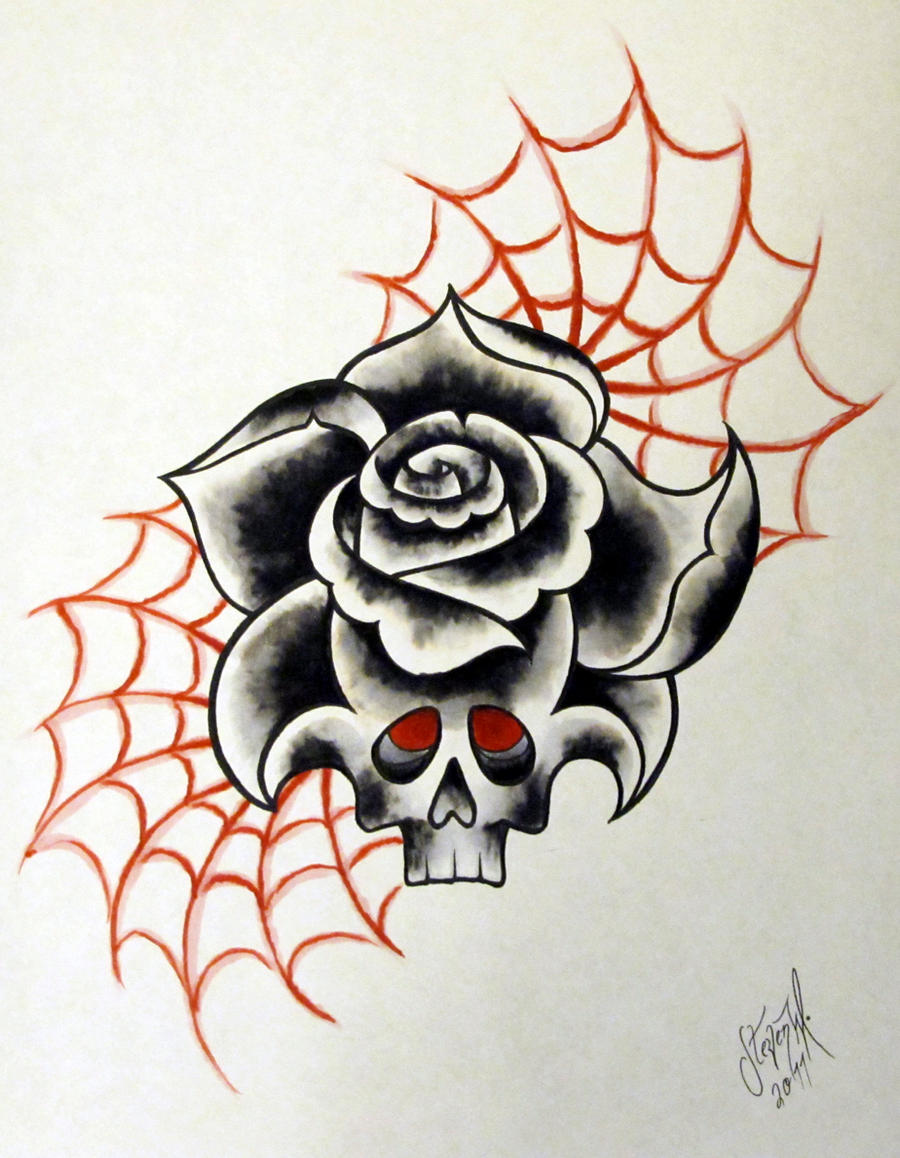
Neotraditional tattooing: beyond pretty flowers and bold colour
Learning to draw neotraditional designs starts with more than choosing a subject. Explore its influences, study real artwork and try an exercise in line, hierarchy and colour.
TattoXpert