
Shaky tattoo lines: check support and visibility before blaming the machine
An uneven line does not reveal its cause on its own. Learn to review support, reach and visibility, then bring a specific observation to your mentor before changing equipment.
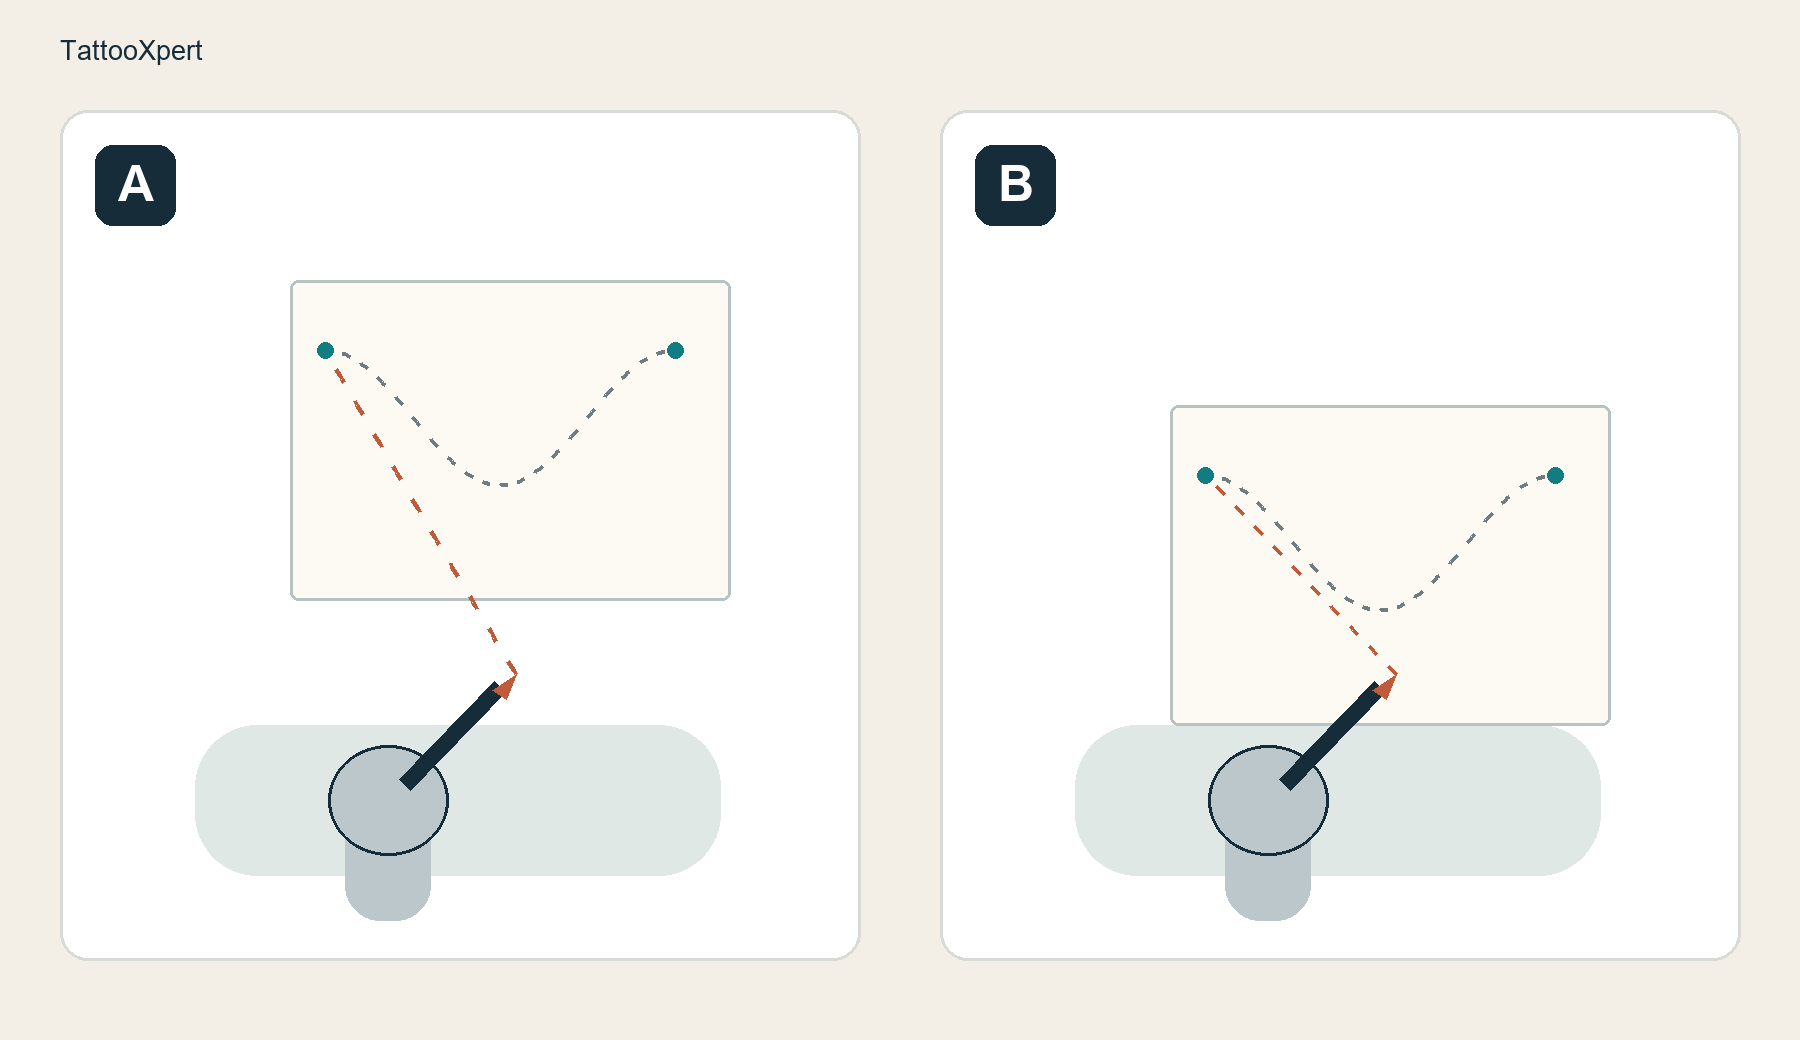
Look beyond the machine first
A line starts smoothly, then becomes uneven towards the end. Reaching for another cartridge, machine or setting can seem like the obvious next move. Before buying or adjusting anything, ask a more useful question: what was changing as you followed that line? Support, distance to the endpoint and your view of the path deserve separate attention.
A shaky line cannot tell you its cause from appearance alone. This guide is about observing your workstation and setting up a pencil-and-paper check to discuss with the person supervising your learning. It is not a needle technique or a voltage recipe. The aim is to bring more than “I think my hands are shaky” to that conversation: describe the situation, identify a point in the movement and choose one variable worth reviewing.
Describe the path instead of labelling yourself
In a drawing exercise, a line that wavers around a guide differs from a smooth line that misses its endpoint. Visible joins between several short strokes are another observation again. Calling all three “shakiness” mixes questions about the path, the finish and how the line was constructed.
Mark where the issue appears: at the start, through a turn or near the edge of the sheet. Keep an overall view and a close-up without digitally smoothing the marks. The close-up shows the line; the wider view may show a drawing positioned far away or partly obscured. Neither photograph, by itself, establishes which movement produced the result. Describe what you can actually see before deciding what caused it.
What workstation research can tell us
In 2017, Ohio State reported on research observing ten tattoo artists at work, recording posture and muscle activity. Among the possibilities its researchers suggested were reviewing seating and support for the back and arms.
The research concerns the physical conditions of the work. It does not establish a position that eliminates shaky lines, or diagnose your linework. Its relevance here is narrower: the workstation deserves consideration alongside the tool. The drawing check below is an editorial suggestion, not an exercise tested by those researchers.
Support needs to remain useful through the movement
At a drawing table, position your paper and notice where your arm rests before making a mark. Move the pencil above the intended path. Does support remain available at the far end, or do you have to chase the drawing, shift your body or change position partway through? You do not need to measure a perfect angle. Look for the point where your setup changes.
Move or rotate the sheet for a second check while keeping the drawing the same. Support does not mean locking every joint in place: a position that feels settled at the start can leave too little room to continue. Nor is there one desk height that suits every person and every task.
When learning to work on people, client positioning, supports and hygiene barriers need review with the professional responsible for the session. A contact point on a drawing table is not a template for improvised contact with skin or studio surfaces.
A shadow can hide the part you need to follow
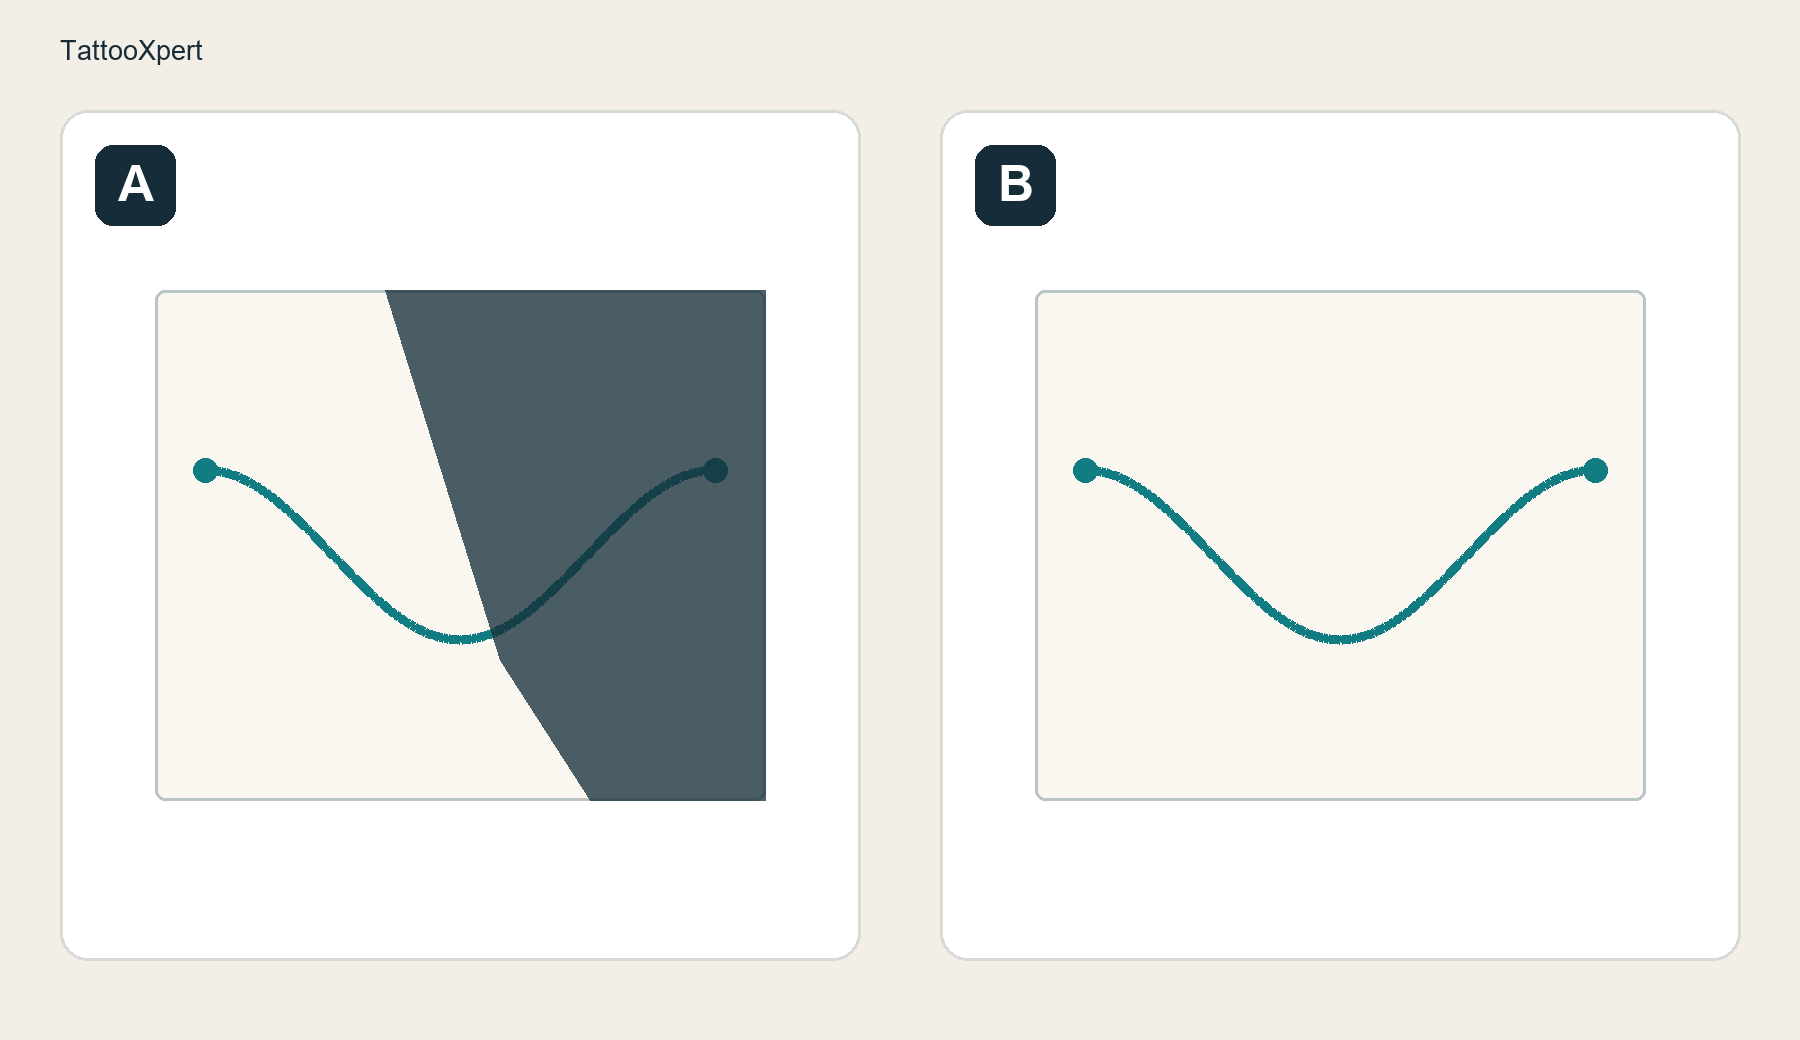
Check visibility with your hand in place
Put a faint guide on paper and hold the pencil as though you were about to draw. Check whether your hand hides the endpoint, a shadow cuts across the curve or glare makes guide and mark difficult to distinguish. Change only the orientation of the sheet or the light, without introducing a different drawing tool at the same time.
Make the check from the position in which you normally view the drawing. An overhead photograph might show the entire guide even though you could not see it from your seat. That is why describing what happened from your own viewpoint can add useful context.
This is a different question from comparing light bulbs by wattage. Ask: “Can I still see the next section as my hand moves?” If the answer changes along the path, you have a specific observation to show your tutor rather than a general complaint that the line feels difficult.
Rehearsing a movement starts with drawing
In his lesson notes on line quality, Stan Prokopenko includes rehearsing a path before making a mark, rotating the paper and finding a comfortable drawing speed. These drawing habits allow you to explore a movement without every rehearsal leaving a line.
The notes do not establish tattooing speeds, needle depths or machine settings. That boundary matters: a useful pencil-and-paper habit does not automatically become an instruction for working on skin. Keep the drawing exercise and any supervised tattoo practice clearly separate.
Keep the check small enough to learn from
Choose a simple path you can already draw, rather than adding an unfamiliar design. Compare two arrangements of the same sheet and keep all the attempts. You are not collecting “perfect” lines. You are asking whether support remained available and the guide stayed visible.
If the second arrangement changes nothing, record that too. An honest comparison can weaken an initial explanation. There is no need to turn the page into a score or set a number of repetitions that supposedly guarantees improvement. The notes alongside the drawing may be more useful to the discussion than your single neatest attempt.
- Note where support, reach or visibility changes during the movement.
- Keep the same paper, drawing tool and guide for both arrangements.
- Change one variable and retain complete attempts, including the less successful ones.
- Describe observations without turning them into proven causes, then review them with your tutor.
When an equipment check makes sense
If a tool behaves abnormally, stop using it and consult the manufacturer's instructions and the person responsible for your training. Reviewing the workstation is not a substitute for checking equipment that appears to have a fault.
But changing machines solely because one line looked uneven turns a suspicion into a purchase. For a technical discussion, identify the model, documented configuration and behaviour you observed, separately from your assessment of the drawing. Avoid describing everything as “not enough power” when what you noticed was an interruption, a different sound or difficulty seeing the path.
Do not test increasing pressure, depth or successive settings on a person to discover what happened. Bring the question to supervised review and retain the information needed to understand it.
Bring a question someone can answer
“I lose sight of this curve when I reach this point” is more workable than “Which machine will stop my lines shaking?” Include the full practice drawing and explain what changed between attempts. Show mixed results too; they can help decide what is worth observing next.
For a next step, the line exercise guide develops paper drawing, the lighting guide explains what to assess in a lamp, and the feedback guide helps prepare a conversation with your mentor. Progress does not always require a purchase. Sometimes the useful step is understanding one part of the working situation that you had previously taken for granted.
Practise lines with a drawing goal
Sources and editorial notes
- Ohio State University · estudio de posturas y actividad muscular en tatuadores (2017)
- Stan Prokopenko · 6 Habits for Good Line Quality · lesson notes
Manufacturer and organiser facts are linked above. Our selection and reading advice expresses TattooXpert’s editorial judgement.
Our editorial methodKEEP EXPLORING.
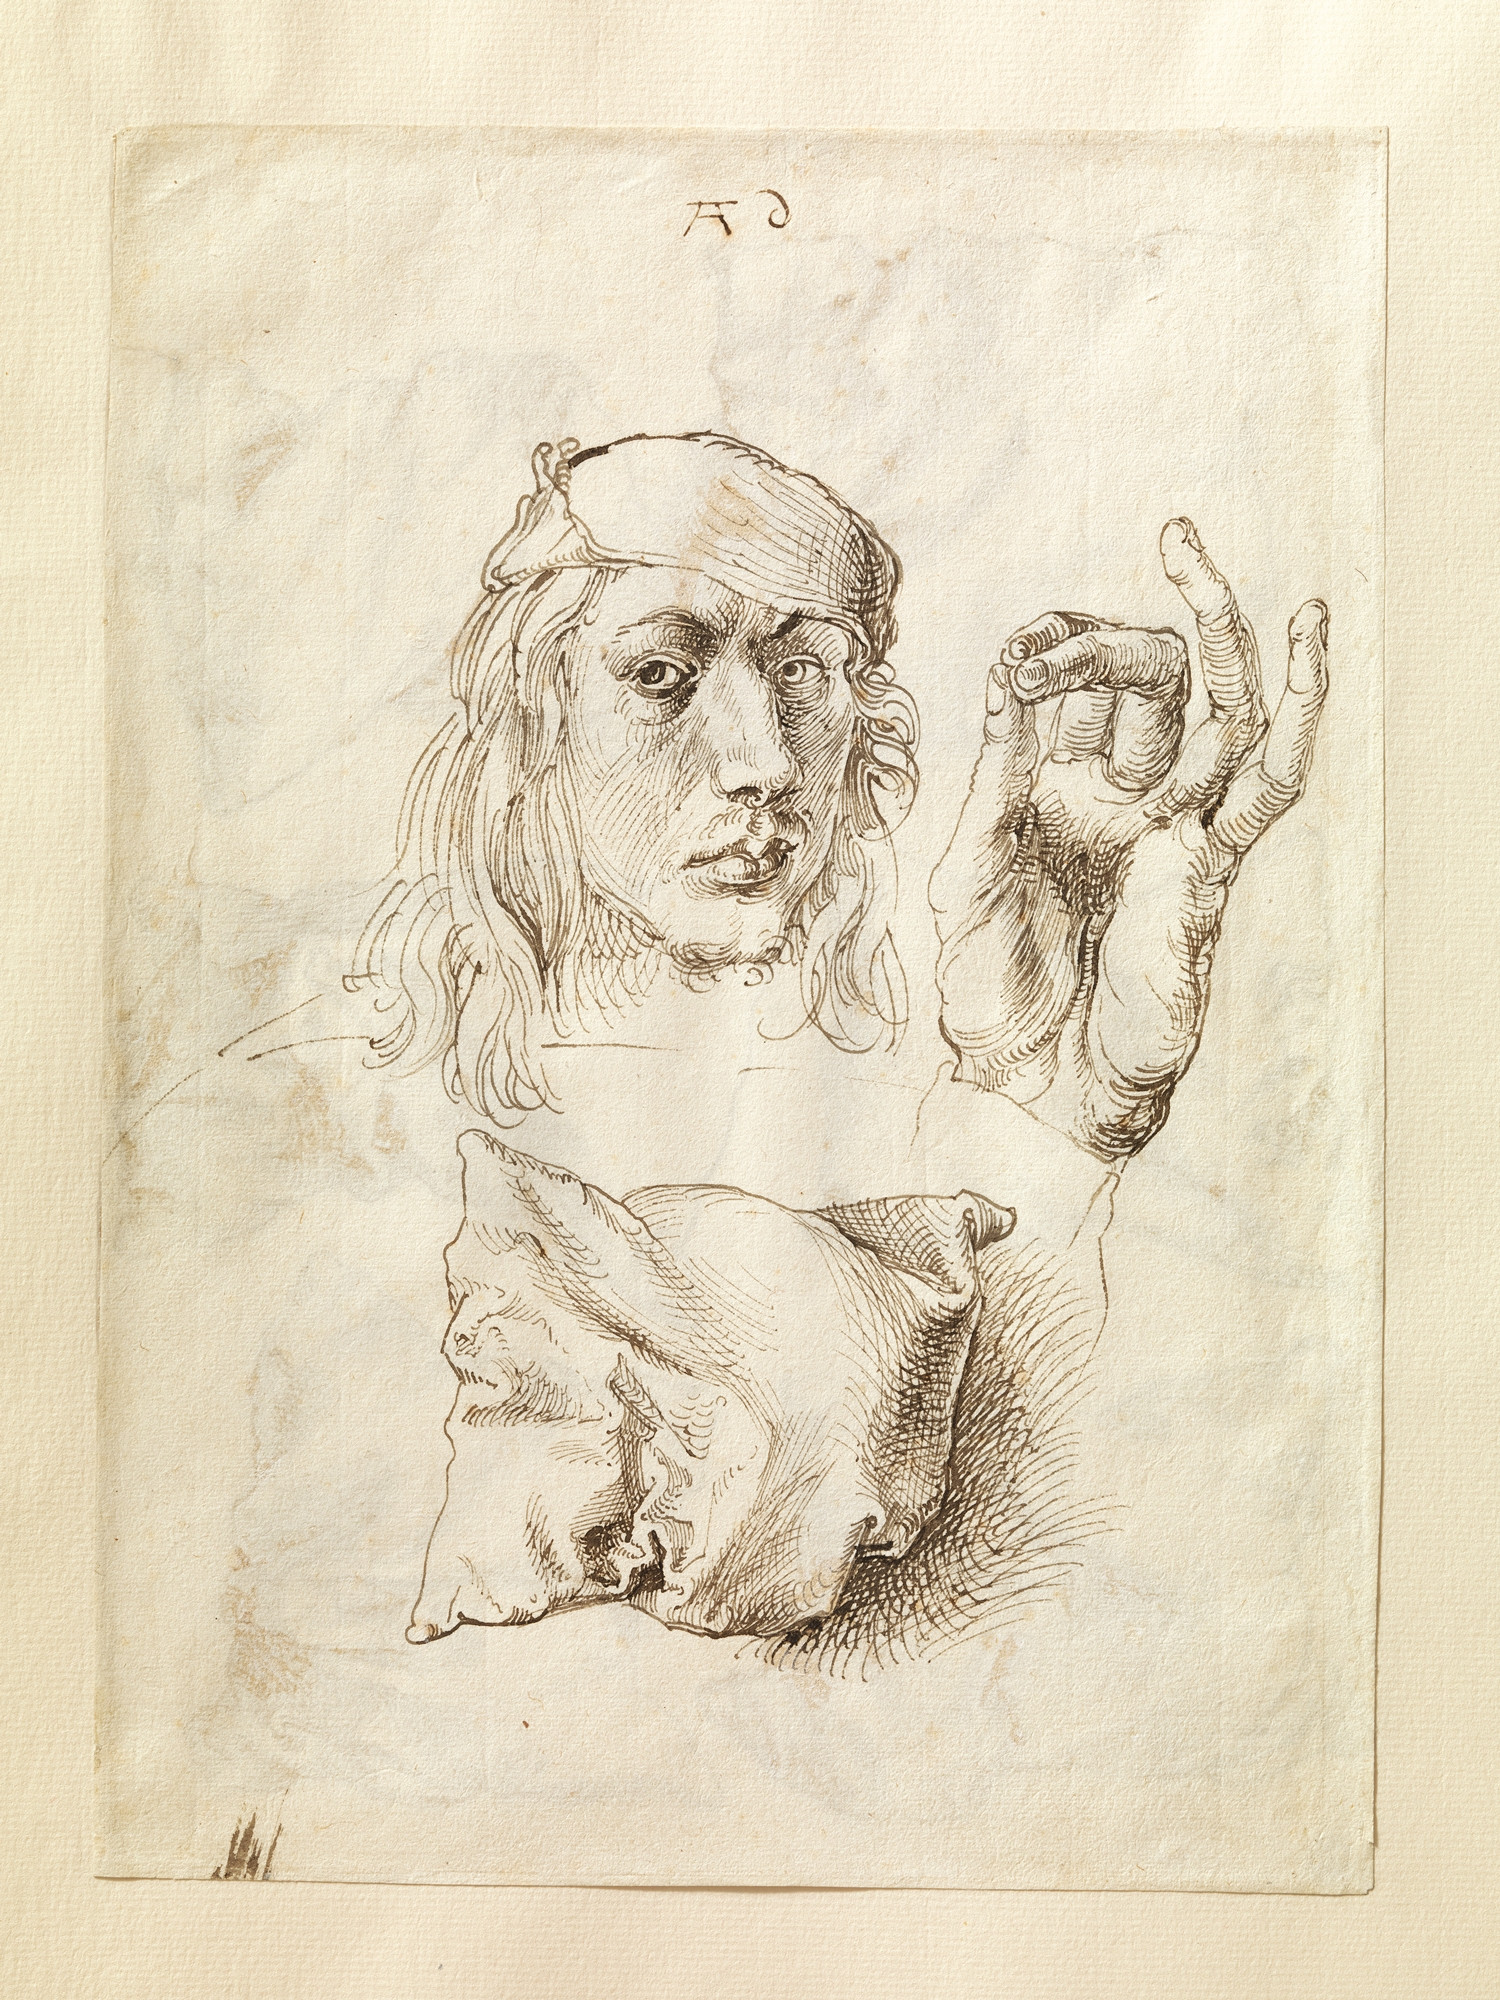
Tattoo drawing exercises: practise lines with a clear purpose
Work on straight lines, curves and line weight on paper, then use them in a small original drawing. Learn what to look for and what to practise next.
TattooXpert
Tattoo studio lighting: choose a lamp for more than its brightness
Learn what to check in a workstation lamp: light output, colour rendering, shadows and mounting, with buying questions and a practical check on paper.
TattooXpert